Creative Lighting Using The Godox AD100Pro, AD200Pro, and AD300Pro
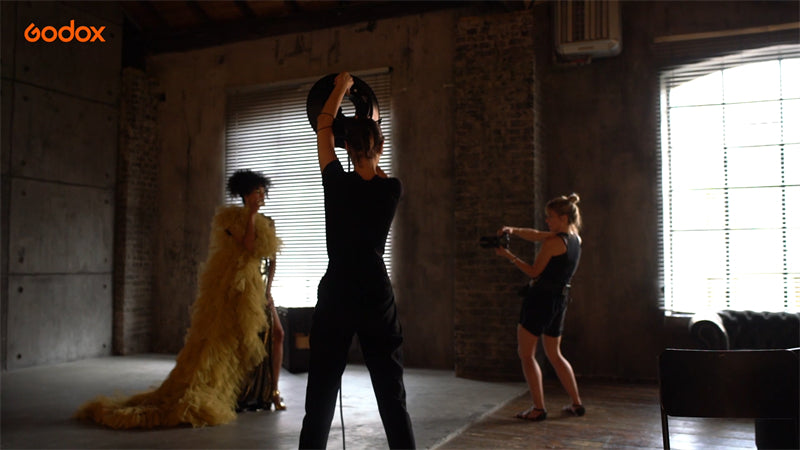
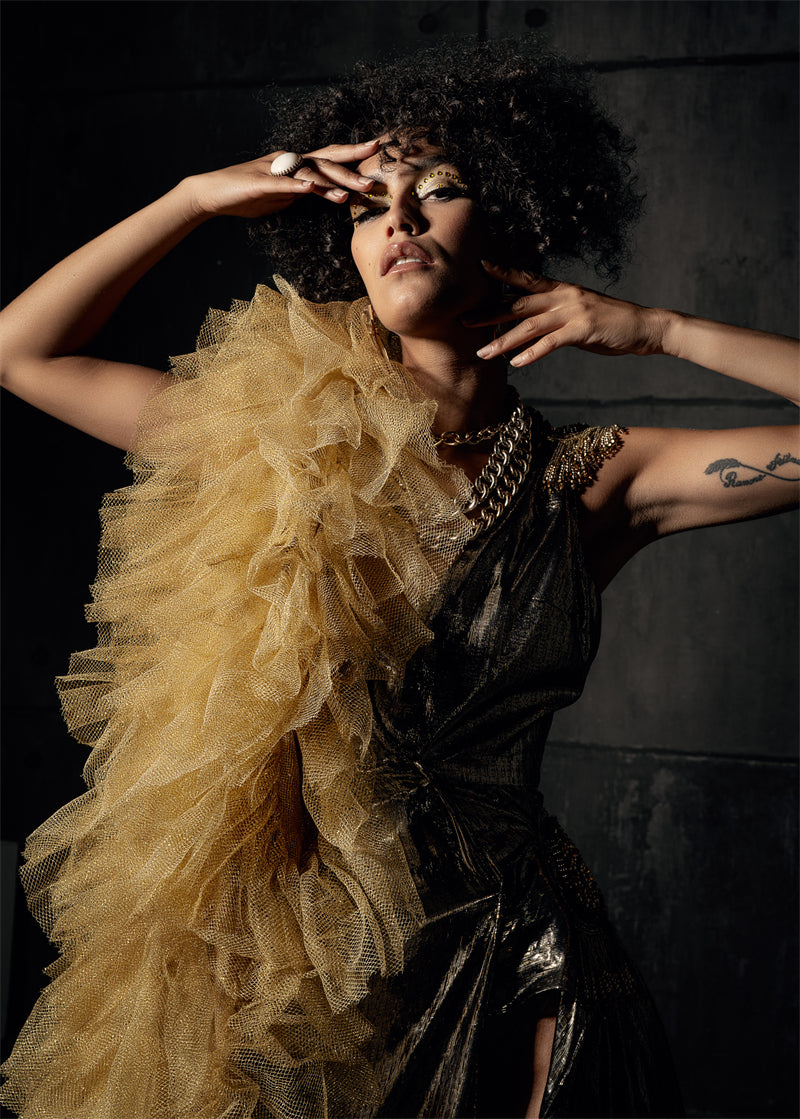
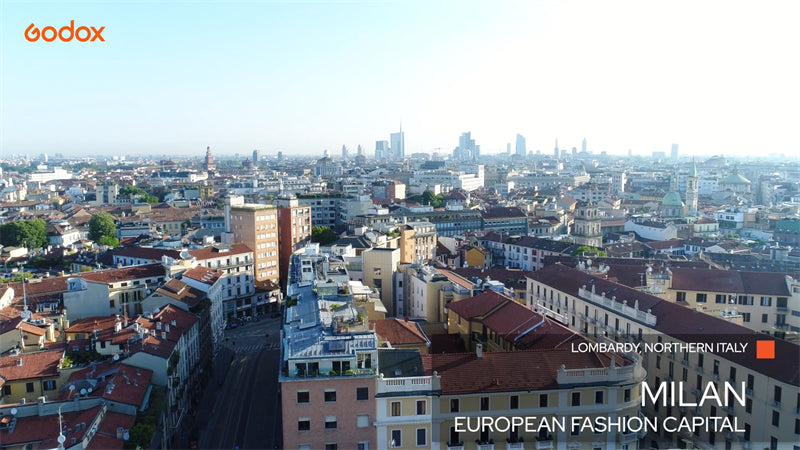
Sarah Edmunds is in Europe's fashion capital, Milan, Northern Italy. She is at the renowned Cross Studios, which gives her plenty of space to experiment with some creative lighting setups to suit the disco editorial theme they have planned. She has brought her entire Godox collection with her and will choose the light to suit the mood that Valentina, her stylist, has created.
Creative Lighting Setup 1
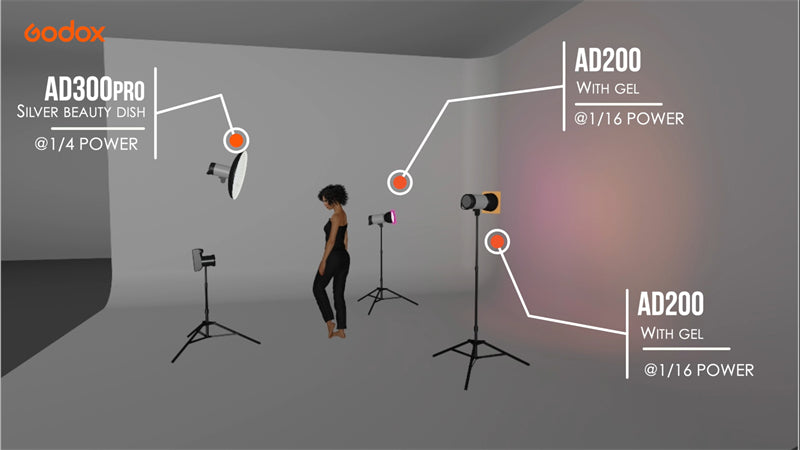
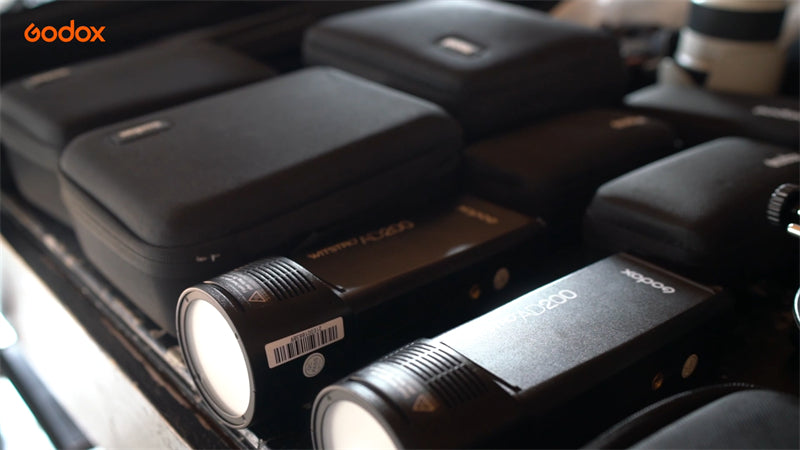
Sarah's original plan was to shoot against the huge white cyclorama available, so she positioned two AD200s with round head attachment and diffusion dome so the light hits the background. Her key light, the AD300pro in a silver beauty dish, lights the model Gabriela. Without the AD200s, the white background would appear gray
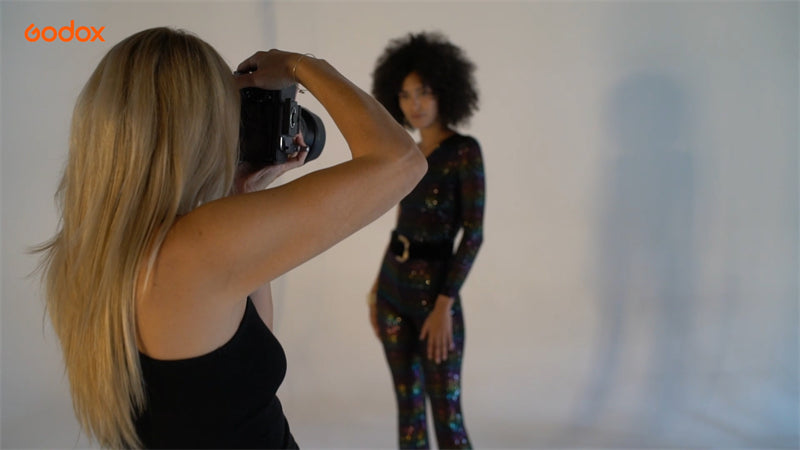
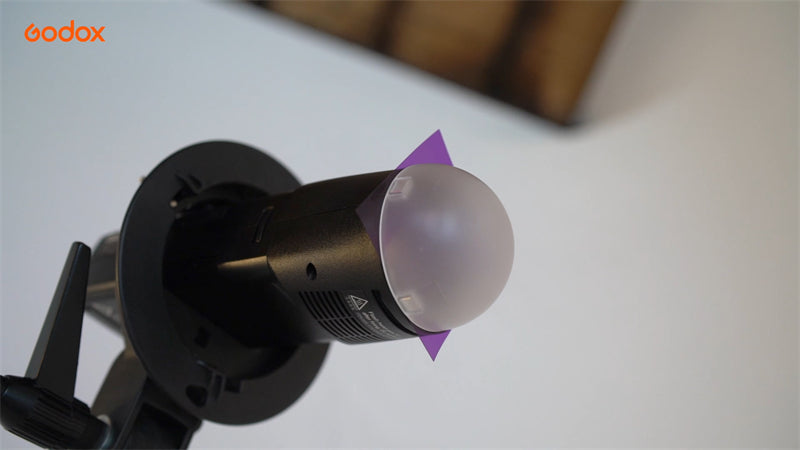
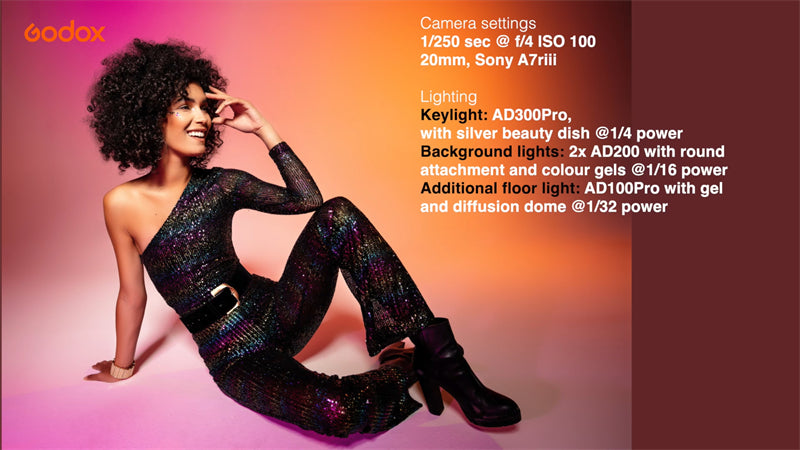
As Sarah starts to shoot, she realizes that something is missing, and the colored sequins of the model's bodysuit give her an idea. She decides that they need color. Sarah takes seconds to place an orange and purple gel under the magnetic diffusion dome of the AD200s, and all of a sudden, magic happens.
The Godox Diffusion Diffusion Dome uses a quick-attach magnetic design that makes it easy to swap out optional color gels for creative expression
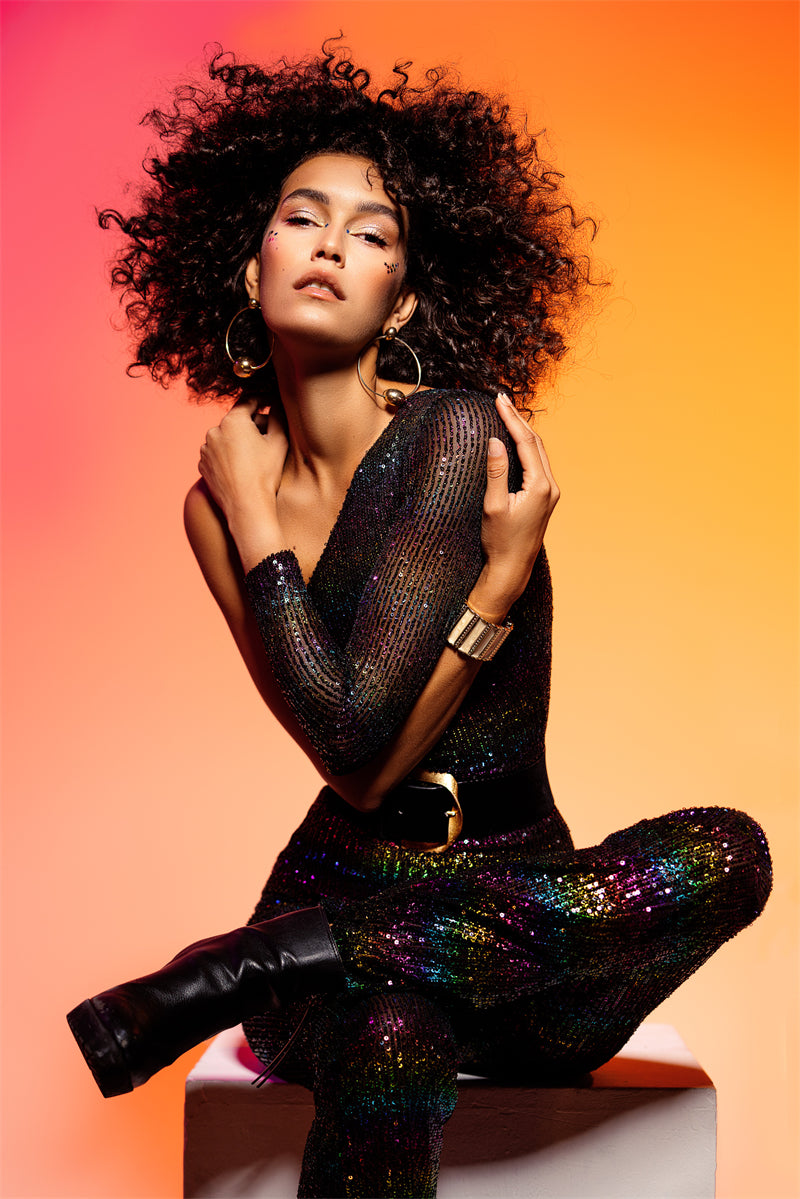
Creative Lighting Setup 2
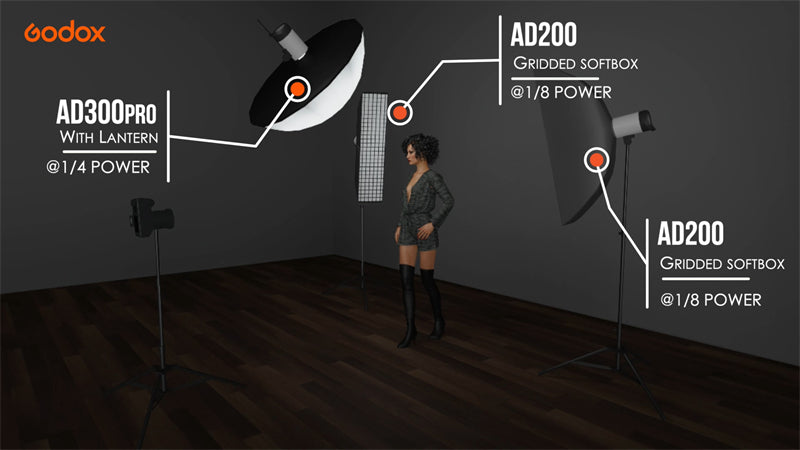
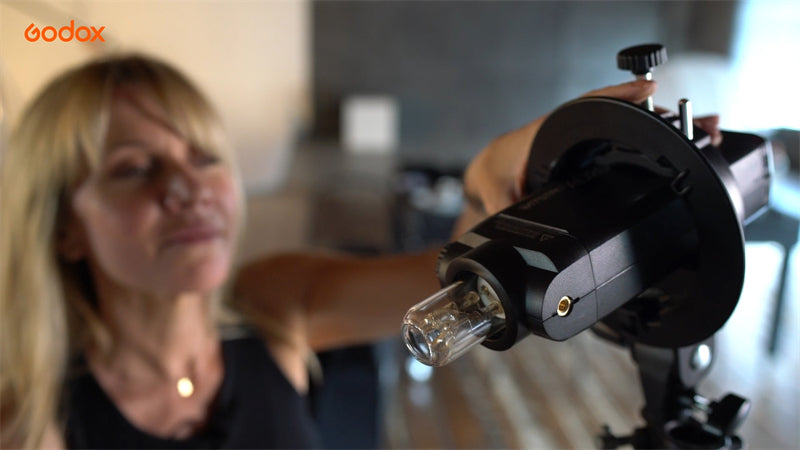
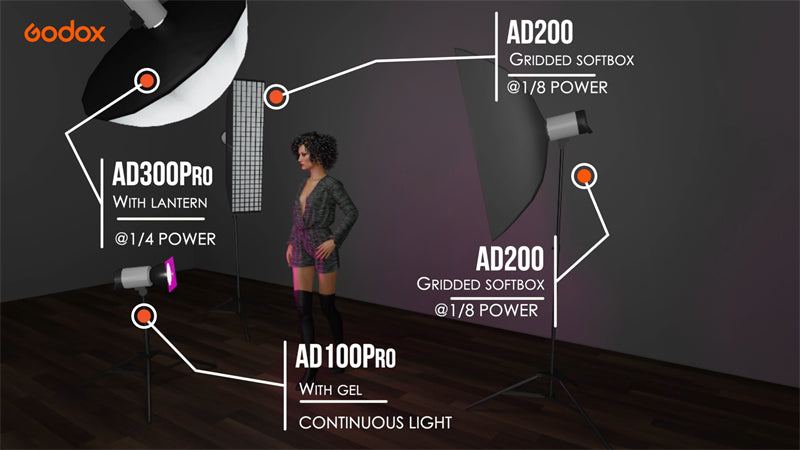
Sarah removed the Godox H200R round head attachments of the AD200s and replaced them with a bare bulb to use inside two gridded softboxes, which she used as her rim lights
The key light here is the Godox AD300 Pro modified with Sarah's favourite light modifier, the Godox Lantern Softbox
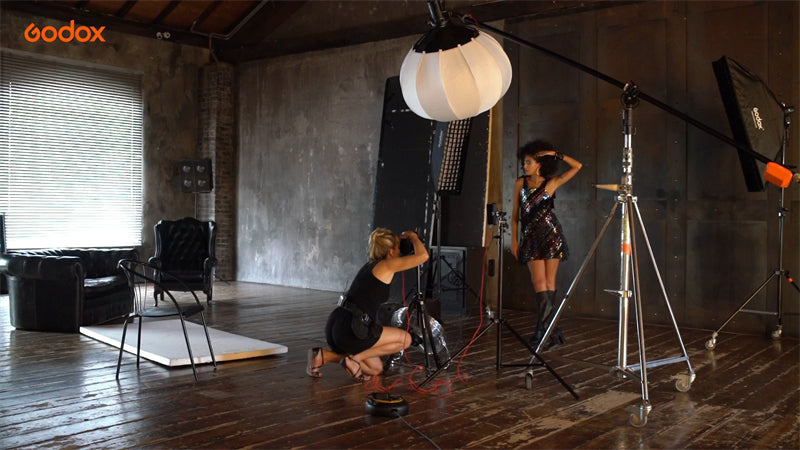
Sarah has set up a traditional three-point lighting setup. The key light is centrally placed in front of and above the subject, providing the main source of light. The rim lights are placed on either side of the subject, kissing the hair and shoulders, and providing nice separation from the background
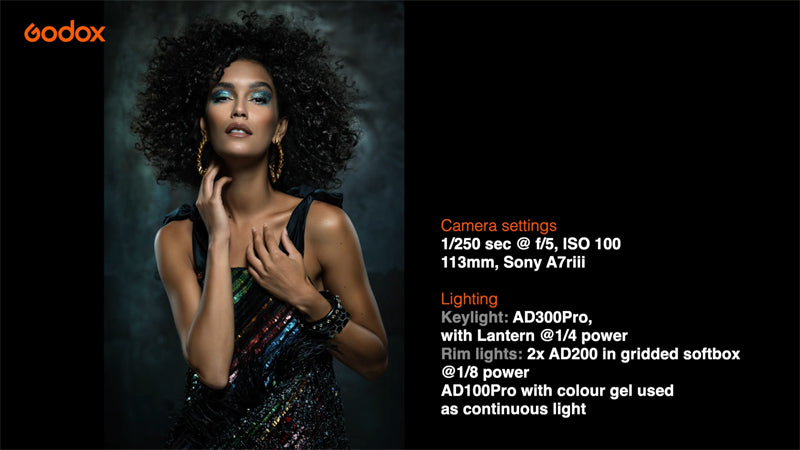
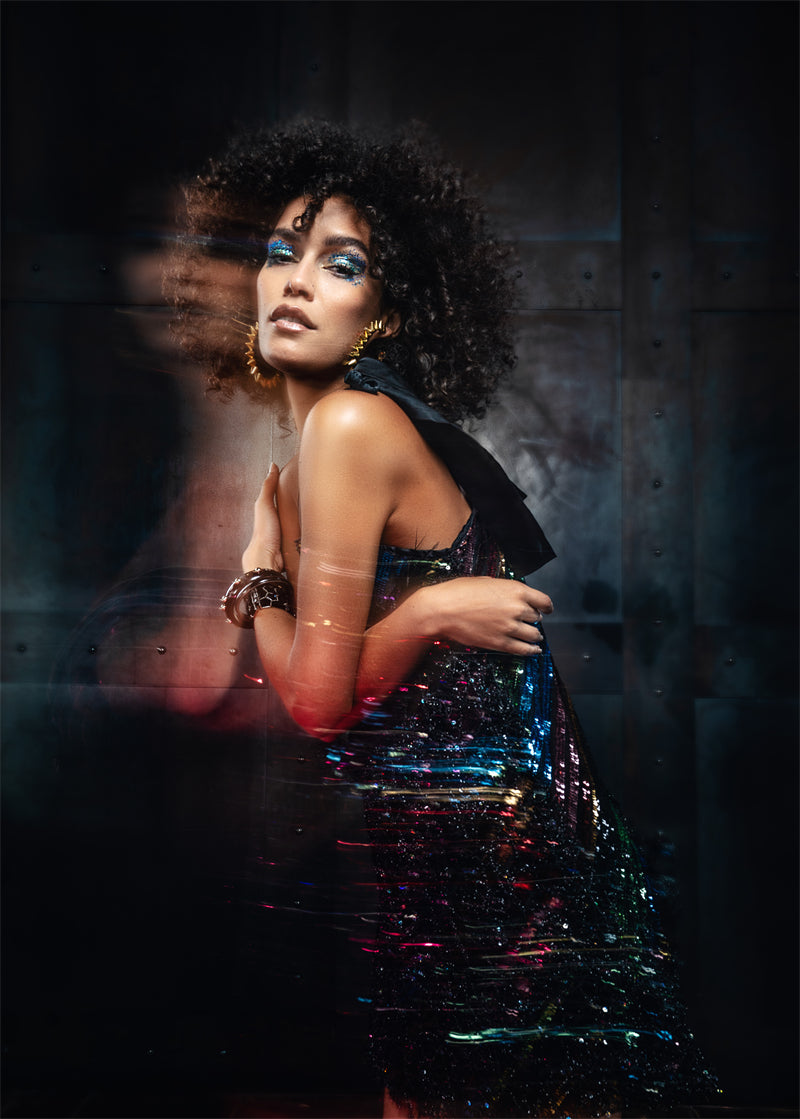
Sarah loves the look of the traditional three-point lighting setup, but she wants to add some dynamic movement to the images and really capture a feel of dancing. She slows the shutter to one second, also known as dragging the shutter, to create a blurred motion effect. She uses front curtain sync to have full control over the moment the flash fires so she can capture the pose she wants. The strobe fires at the beginning of the exposure, then either the model moves or Sarah moves the camera or zooms the lens to create the blurred motion effect
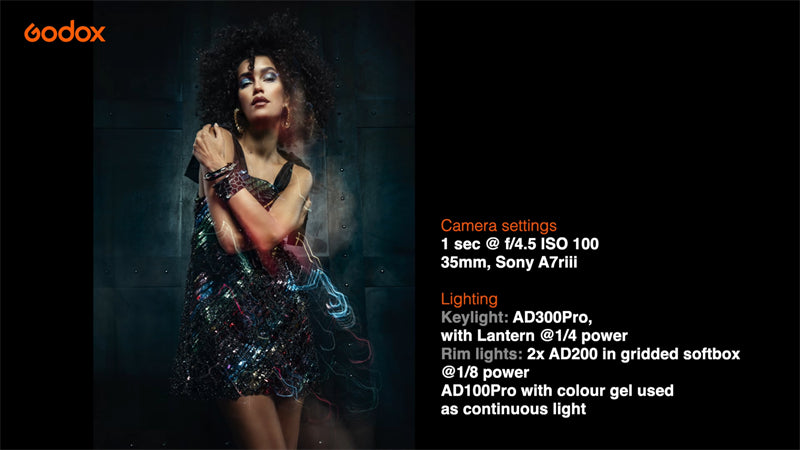
To add more color to the ambient light captured with the slow shutter, Sarah adds a bright pink gel to the continuous pilot light of an AD100Pro
Creative Lighting Setup 3
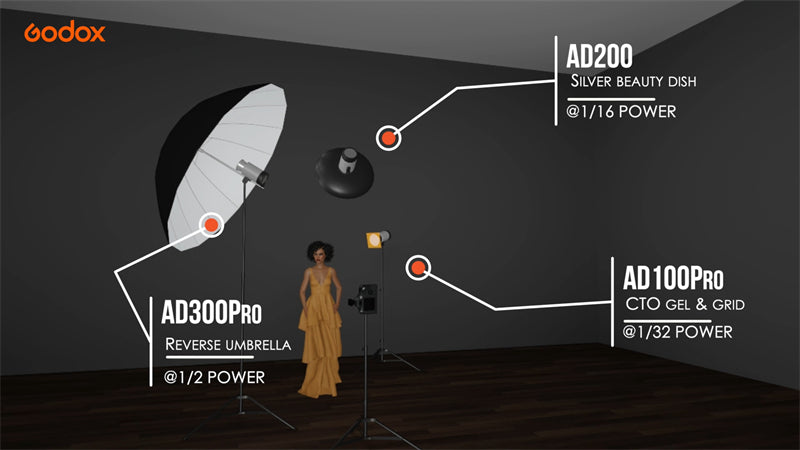
To ensure that the model is fully lit from head to toe, Sarah is using a fill light shaped by a large reverse white umbrella with diffusion. This will provide even lighting across the model's body. Additionally, there is a silver beauty dish with a grid attachment lighting her face, which will provide an extra pop of specular light.
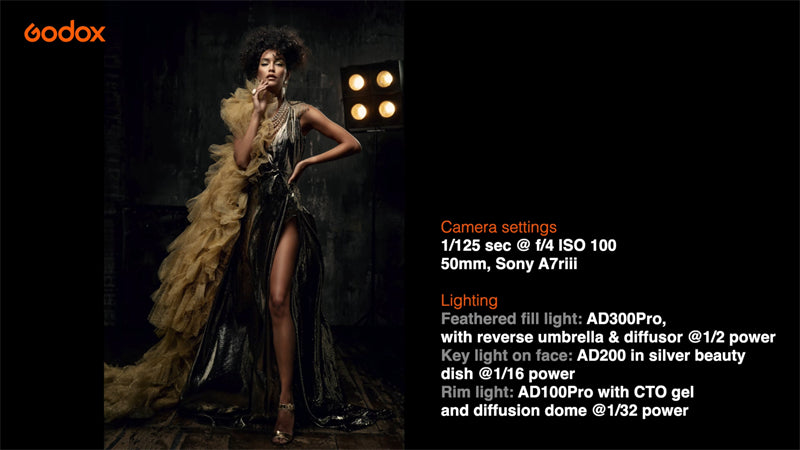
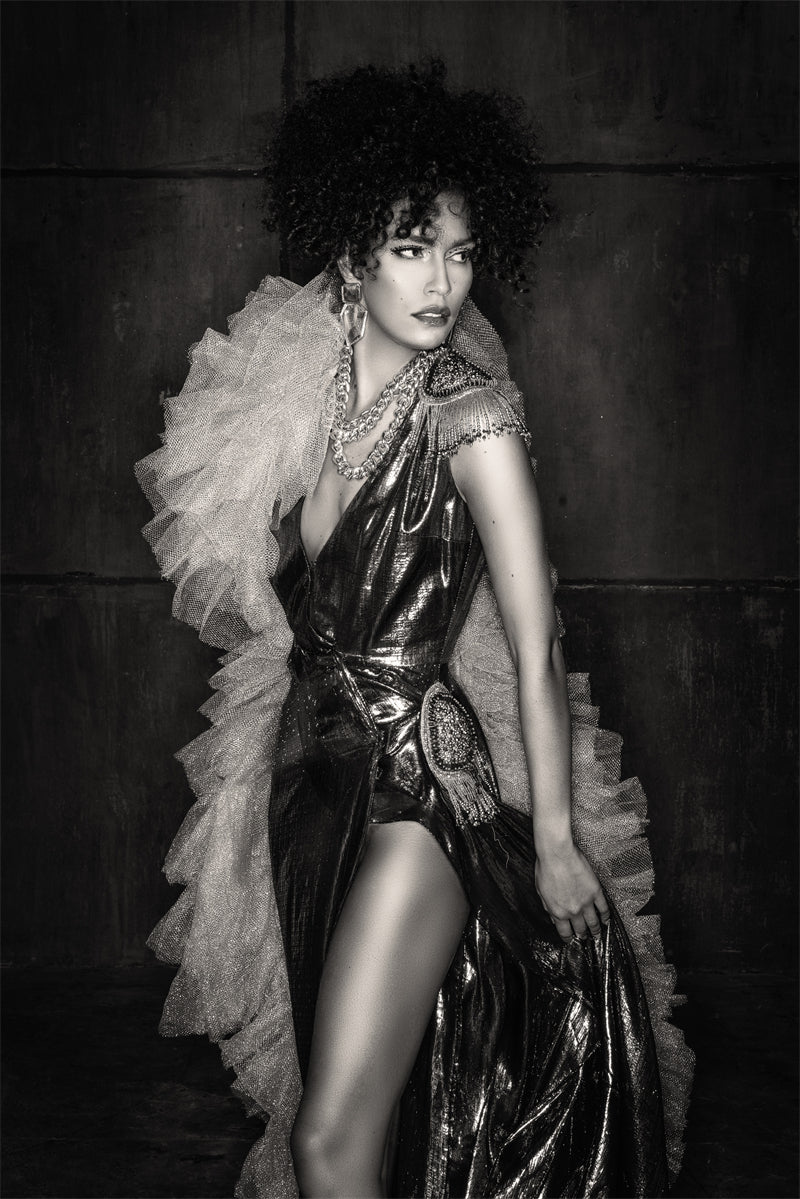
The camera settings mean that the light coming from the prop light in the background is not visible. To recreate the effect of this warm light hitting the model's left shoulder, Sarah uses an AD100Pro with a CTO gel and grid. The CTO gel will add a warm, orange tone to the light, while the grid will help to control the spread of the light and focus it on the desired area.
Creative Lighting Setup 4
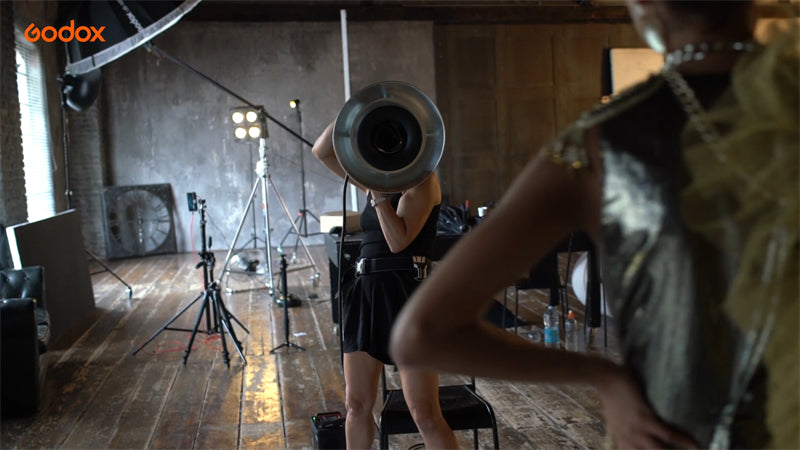
To end the set, Sarah wants to see what she can achieve with just one light. She starts with the ring flash head powered by the AD1200Pro on camera. This creates a really distinctive flashed look, with an even shadow all around the subject and very even, shadowless light on the skin
